Tuesday, 28 November 2023

 2021 December

          At this point we started trying to nail down details of how the kitchen layout would go exactly. This is the suggested kitchen layout from the kit home company, which has the stove on the internal wall adjoining the bathroom, the sink along the window and the fridge in the other corner.


           Here's one experiment with the difficult space available.

          We have two corners and corners are annoying. You can't put your stove in a corner as then it's too hard to get things out of the oven. Cupboards in the corner are always awkward as it is difficult to access the space. You can get fancy solutions to access that corner but they are EXPENSIVE. We didn't want to put the sink or the stove along the side walls as it meant running the pipes further and creating potential problems in the future if there was a leak. We definitely wanted the sink at the window so you can get a cool breeze on your face while washing up, and a nice view out the window. The giant walk-in pantry seemed pretty cool - like a secret room inside your house - but it cost $2000 just on its own. Ouch.

        Josh's cousin designed this fancy kitchen for us, which looks great but has the stove on the internal wall and the fridge kind of blocks off the room. Another problem with having the stove on the internal wall is that the range hood would have to vent out the ceiling instead of just venting straight out the external wall, much more difficult and expensive installation. Probly not the best to have the stove next to the fridge either cos the poor fridge would get hot whenever you cook something. It's such a tricky space cos it's just a little bit small. But thanks Mel for the design! (Also just imagine the sink is under the window).


          The Bunnings Kaboodle website has a great section where you can put in the measurements of your specific space and build your own digital kitchen with their cabinets. Very easy to use and then it gives you a list of all the stuff you need to buy and how much it will cost. All I heard was Oh Kaboodle is so much cheaper than any other kitchen options, I don't know how much other kitchen options cost though. The below design has the stove against the side wall which wasn't really what we wanted. Also having the fridge in this spot kind of cuts off the kitchen from the rest of the L shaped Kitchen Dining Living area which could make it feel cramped.

          The below design has the stove on the left of the sink and the fridge on the right of the sink, with a kitchen island in the middle of the room. We are thinking that if we put the kitchen island on wheels then we can move it around as desired, over to the side of the kitchen if we want the central area clear. We would also love to have the island bench overhanging on one side so it can be sat at like a breakfast bar. The cupboard on the wall above the stove is designed to have a rangehood inserted in to the bottom so that it's hidden from sight.


          The below kitchen design is basically the same but with black doors and a few other additions. This design ended up costing about $3000.

        As we are off-grid the only viable option for a stove is a stand-alone gas stove, which we purchased from a local store. I have heard rumours about the government banning gas ovens for some reason, but still allowing gas cooktops, but these units are still available in certain stores (not Bunnings) so not sure what the real deal is there.
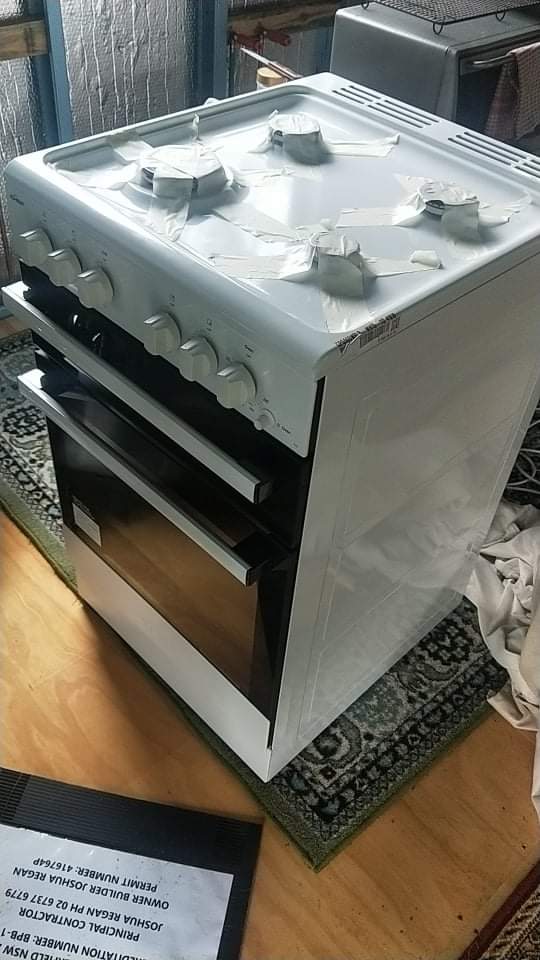

          We got the stove connected and were able to use it even though the rest of the kitchen wasn't ready. It made a lovely warm place to sit next to on a cold day - the closest thing we had to a heater!

Monday, 23 October 2023

 2021 November

Ok let's go back in the time machine - and remember when the plumber Steve came out for a day of work from Lismore and installed our plumbing rough-in. The photo below shows the kitchen - on the left is the gas pipe coming up ready to join to the gas stove, and on the right is the hot and cold water pipes coming up ready to join the kitchen sink. They are all copper pipes, and the green side is the hot water which is covered with a plastic layer which helps keep in insulated , the heat stays in while it travels from the hot water system.

The below photo shows the bathroom. On the left is the hot and cold pipes for the laundry tub, and hot and cold pipes for the washing machine. In the middle is the hot and cold pipes for the bathroom basin. On the right is the hot and cold pipes for the shower/bath. You can see they come in to the middle to a central mixer, then one goes up for the shower head and one goes down for the bath tap.

The below photo shows the copper pipes which run under the house. Sorry it's at such a crazy angle but it turns out it's really hard to take photos while lying under the house! You can see the green covered pipes from the hot water, and the copper pipes for the cold water and the gas.

We also got a tap put on the outside of the house, to attach a hose onto. Great for watering the garden!

An electric water pump was placed under the house, connecting the water from the stainless steel tank to all of these copper pipes. This pump is connected to the solar power. It was placed on a concrete slab that the plumber brought with him, put on top of a bed of gravel. The gravel was stuff we had left-over from the truckload we had delivered for the tank stand.


Below is the instant gas hot water system. We had to specify to the plumber that we needed an off-grid system, as he had only previously installed on-grid systems which need to be plugged into electricity to work. This one has a clever design with an inbuilt hydro-electric generator that lights the gas as soon as the hot water tap is turned on. Amazing! This saved us from having to get a special outdoor power point installed just for operating the gas hot water system. This hot water runs to the kitchen sink, bathroom basin, bathroom shower-bath combo, laundry tub and washing machine.

In the below photo you can see the two large gas bottles which have been installed, connected to the copper pipes for the gas. These bottles supply gas to both the gas hot water system and to the gas stove. They were placed onto pre-made concrete slabs which the plumber brought with him, settled onto a gravel base. The gas bottles were delivered by the local rural supply store at Tabulam. Thanks Mark!


In the below photo you see the gas stove connected to the gas, in the spot where it will live when the kitchen is finished. You can't see it in the pic as it's behind that cardboard, but there is also a drain outlet for the kitchen sink in the floor.

Below you can see the washing machine which is temporarily hooked up to the water inlet, which is behind it where you can't see. Also behind it is the outlet pipe which the waste water goes into, then into a drain pipe which takes the water away from the house.  We can wash laundry plugged into the solar power when it's a nice sunny day no problem, don't have to run the generator for that anymore! 
     On the right side of the pic you can see the drain outlet which will be used for the basin drain in the future. At this point the drain outlet for the bath/shower was not placed, as we needed to know exactly which bath we were getting before it could be put precisely in the right place. You can't quite see it in this pic but there is also a floor drain placed right in the  middle of the floor. 
     We did have a bit of problem for a while when the antechinus figured that it could climb up into the house by scampering up this drain hose, but we fixed it by shoving some aluminium mesh into the hole and that managed to keep it out. Naughty creatures!

          I can't remember exactly but I think the plumber cost around $4000, and the gas bottles were about $250 delivered.

Monday, 13 March 2023

 Jump to 2021 September and Josh put up solar panels! This photo shows the first bottom row of six panels which are 350W each, which - for those of you who don't know - is a very high ability to generate electricity per panel. Older solar panels will often be around 120W, so more than twice as powerful which means you need less panels on your roof for the same amount of electricity creation. The plan is for another row of 6 panels above this.

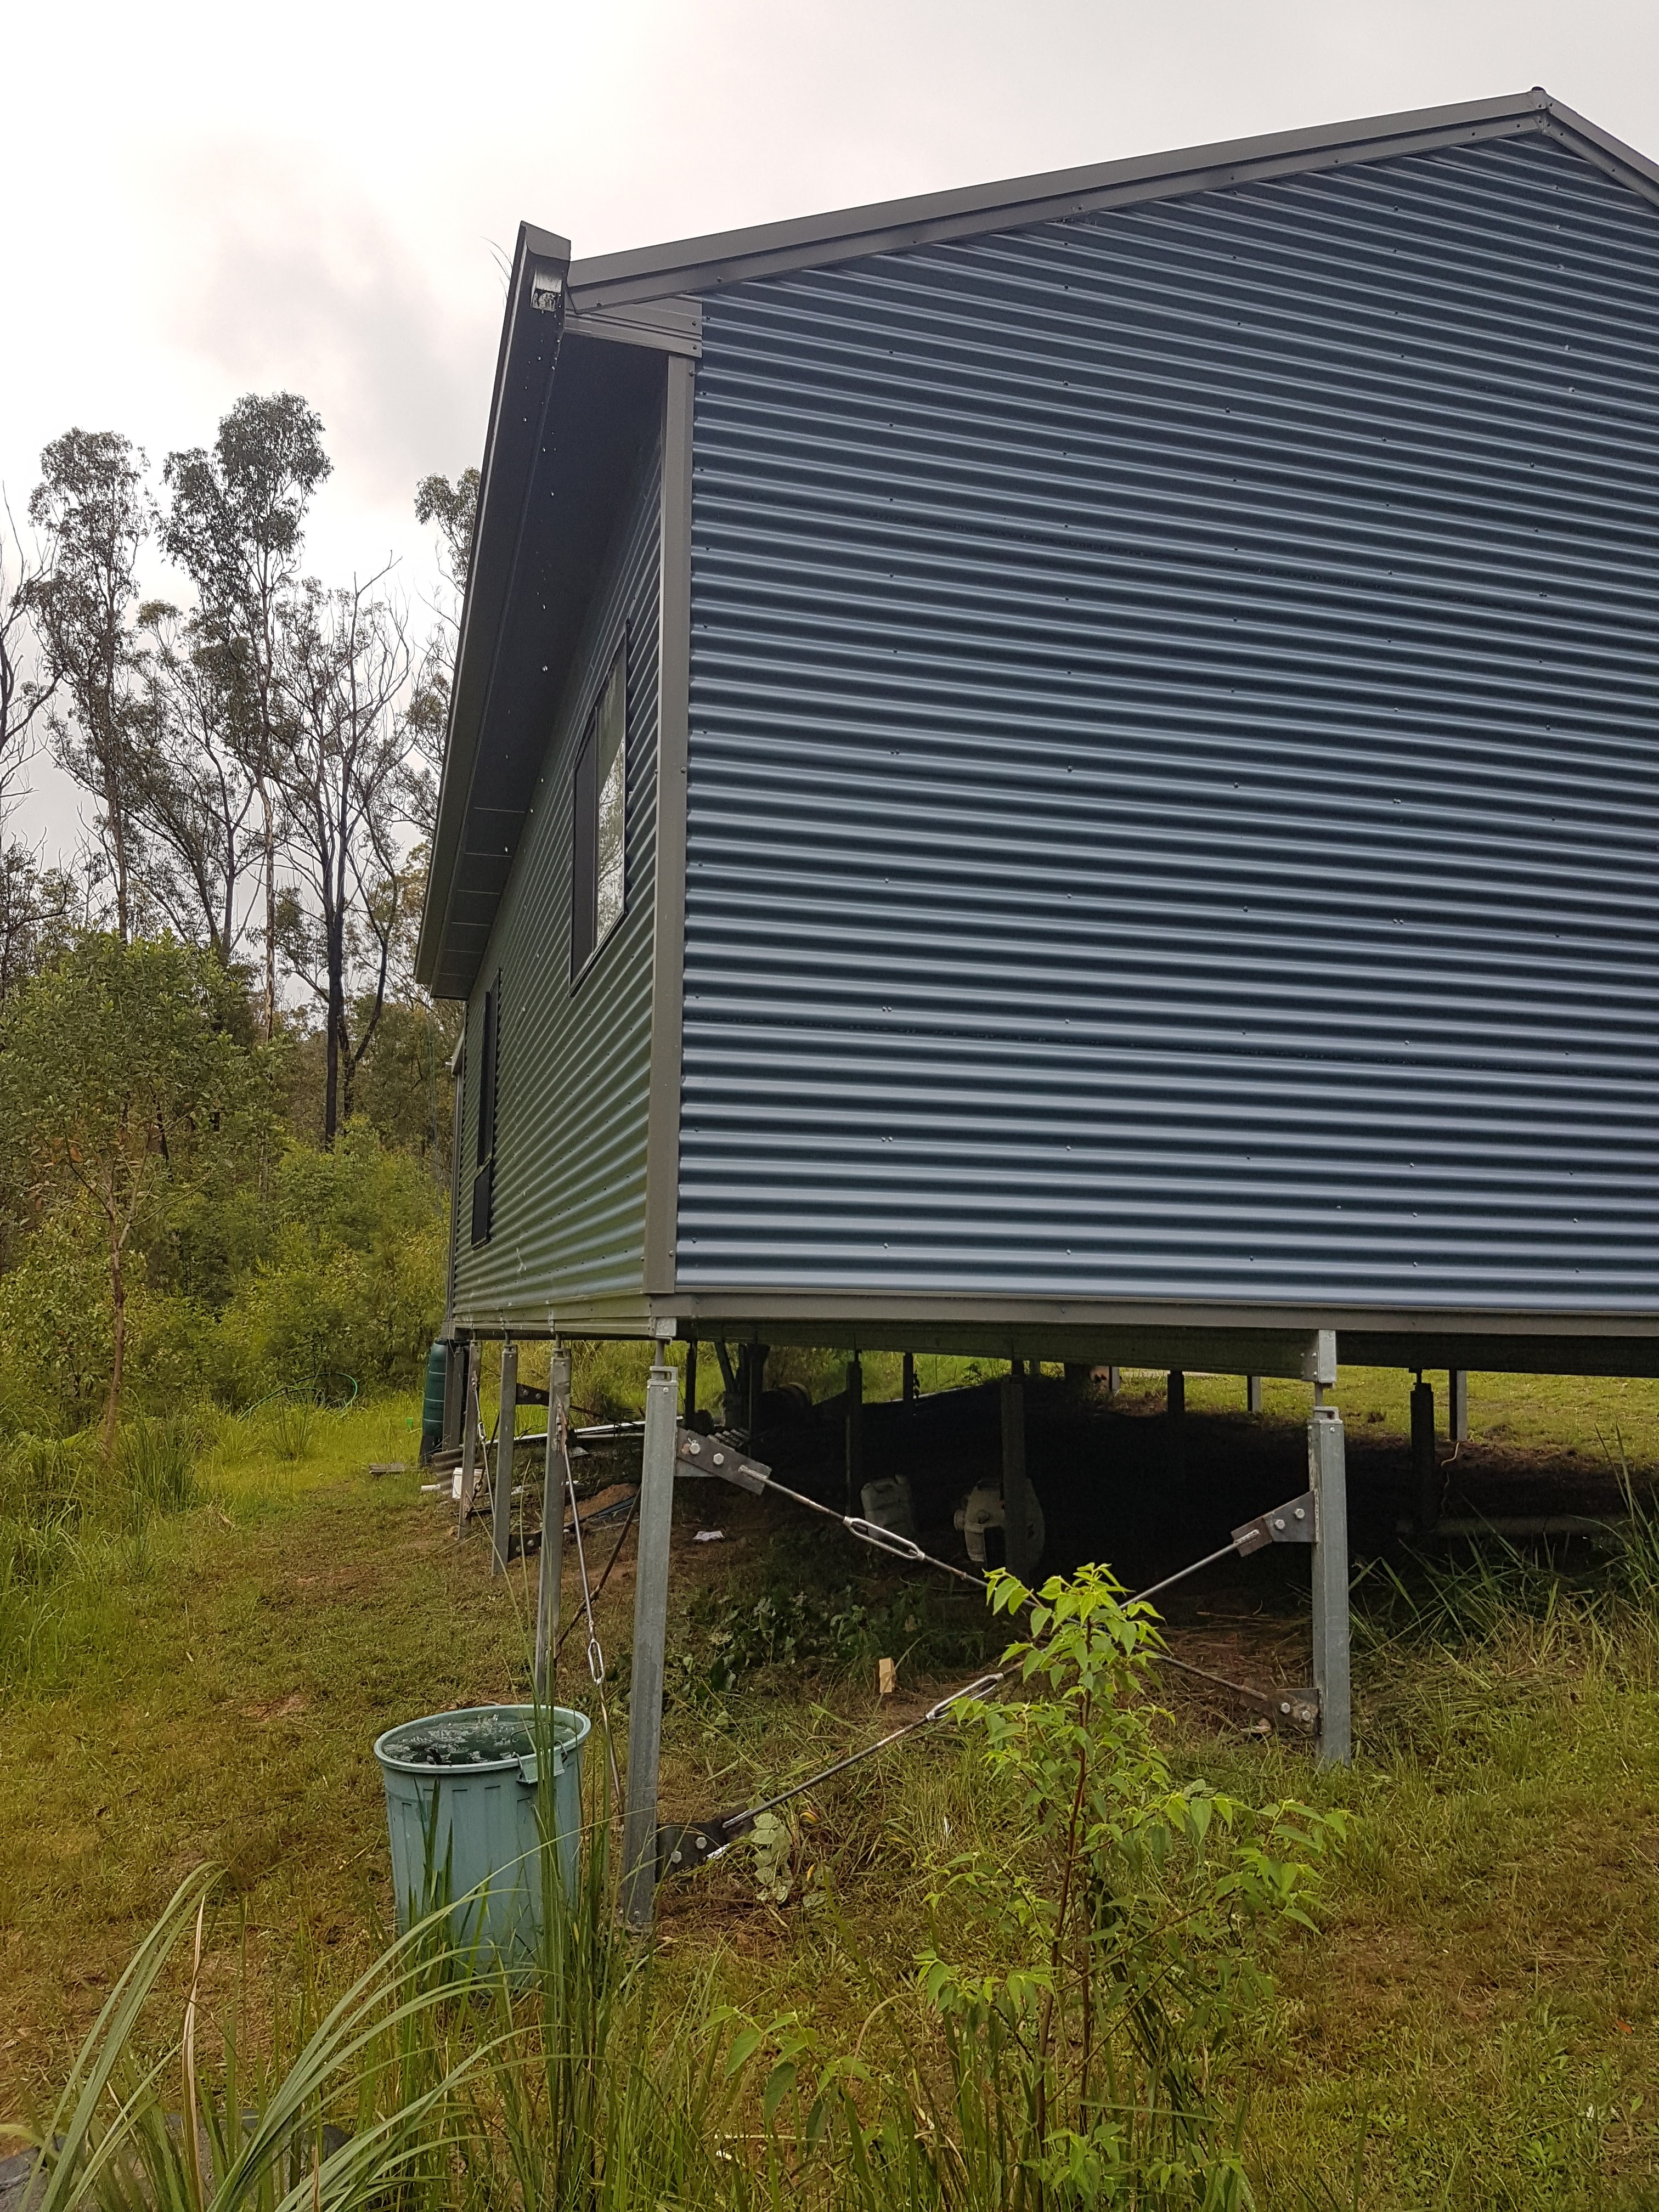
Then in November Josh's brother came for a visit and brought along some supports he'd made for attaching under the house. 10mm steel plates were welded to the house posts, then bolted to lengths of bar which attached to another piece on the other side with a turnbuckle in the middle for tightening. Unfortunately the weather was against us with constant rain and only a short window of time to do it in, but the boys managed to work out how to get it done just in time. These supports made a difference in the structural integrity of the house with immediate results. Thanks Ben!


Monday, 30 January 2023

 November 2020

     Then our water tank got delivered! Here it is on the back of the truck which was towing a trailer with more tanks. The company was in Brisbane so must have left pretty early in the morning to get our place by about 9am. They were called Select Tanks and were very easy to deal with in every way. The long vehicle wasn't able to go up our driveway, so he pulled over to the side of the road and dropped off the trailer, and then just drove the truck up our driveway.

     Josh says for the unloading of the tank, they laid down soft mats, rolled the tank down a ramp off the back of the truck, rolled it over to the tank stand and stood it up as it wasn't heavy. We had our friend come round to give a hand too. I was at work at the time, so by the time I got home it was already sitting happily on top of the tank stand that we had made. It's very shiny! We decided to get a stainless steel tank as we required either a metal or concrete tank for bushfire resistance. Most people around here just get plastic tanks are they are cheaper, but most of them melted in the bushfires we had 3 years ago and I saw a lot of people getting new plastic tanks to replace them, which seemed quite short-sighted. Also plastic carries risks of contaminating your drinking water with unhealthy chemicals.

    Concrete tanks are hard to find around here, and have a reputation for cracks. Regular metal tanks will rust out in not too many years and they have an inner lining of plastic anyway - not good for bushfires! So for only a slight increase in cost (I believe it was $4,400 including delivery), we decided on stainless steel which has the advantages of
- pure clean drinking water
-won't rust
-bushfire resistance
The corrugated sides of the tank match very nicely with the corrugations of the exterior of the house.
Attached to the tank is a 65mm storz fitting, which is a requirement for bushfire regulations. This means that a Rural Fire Service truck can easily attach their hose to our tank if they need to use our water to protect our place from bushfire. There is also a regular tap for easier access to the water.
     So that the empty tank didn't blow away we ordered a truck of water to be delivered. The tank is 22,000 litres so we ordered 10,000 litres. This was at the height of water shortages so there was quite a wait for people getting the water from the Casino council, but lots of companies to choose from.
Here's a pic of the inside of the tank after the water delivery!

Thursday, 26 January 2023

 2020 March

     Here's Josh sanding down the filler in the gaps between the yellow-tongue flooring. As you can see there is a cord coming off this sanding tool which means that we would have had to run the generator to have electricity to run it.

Below you can see another one of the internal wall frames going up, all the pieces numbered and assembled according to the printed plans. This wall separates bedroom 1 from bedroom 2. You can see the Ryobi battery drill in this pic which  means that we didn't need to run the generator when screwing this wall together. Also in this pic is the rubber mallet, another important tool for persuading the pieces to go together when they are being a bit stubborn!

One of the interesting design details is the way the bottom of the door frame is part of the installed wall, and then you have to cut it out, otherwise you would trip over it. As you can see in the below pic, the piece has just been cut out but carefully so as not to cut the floor.

And there's another wall done.

Hmmm I have just realised that I have done this a bit out of order! But seem to have missed these so putting them up now anyway lol!

Friday, 6 January 2023

 March 2020

We continued with the internal framework of the house, using the steel pieces which were pre-cut, pre-drilled and numbered so easy enough to place in the right order according to the plans, and screw together. The bedrooms have built-in wardrobes with their own steel framing.


And the sides...


Then we stood the frames up and screwed them in place, may have required some banging with a rubber mallets and a few select words to get them to sit right!


Other exciting things that happened this month was that I got a part-time job, and that COVID hit. Not that COVID restrictions actually affected us much as we live like hermits by choice as much as we can anyway.

April 2020 - Our little house looking lush in the rainy season. You can see the plywood on the left of the house and on the verandah, ready for the next step.

Which was the laying of a thin (7mm) plywood floor over the top of the yellow-tongue floor, with a blue underfloor layer which you can see in the back far right. We had help from family with this, so thanks so much to Ben for all your hard work! Again!

The photo below shows some of the tricky cuts of the plywood floor to fit around some of the steel framing.

Here is Josh using a tape measure to ensure he is screwing down into the right places, missing the screws from the previous layer of yellow-tongue.

Then I had a go at levelling some of the joins between the sheets of plywood, as there was the occasional height gap of a few mm. I tried using the Ryobi battery-powered planer but it didn't work too well as it just chipped pieces off the top layer of the plywood. More effective was the Ryobi battery-powered sander, so I managed to make it flat enough to remove any trip hazards.

Then we were busy during the cooler months of the years collecting wood to keep warm in our wood stove in the shed, so nothing much happened until

October 2020 - we had the delivery of our stainless steel water tank arranged, and made a tank stand ready for it. First we made a perfect circle the right size marked out with rocks (never a shortage of rocks on this property!)


Then inside the rock circle we added a layer of metal mesh lined with shadecloth...

Designed to be strong enough yet thin enough to hold the gravel in place, with the benefit of being able to drain rainwater.

And had a delivery of gravel poured into it - here's Josh guiding the truck sluice around the circle to get a more even spread.
In the end it was more gravel than we needed (which is good) so we shovelled off the excess and have it ready to use for other projects.

The frustrating thing with gravel is that it is about $50 worth in itself but then you have to pay a few hundred dollars for delivery - definitely can't fit it into the back of a hatchback! All worth it in the end.

Thursday, 26 May 2022

 2019 December

     Ok with all the wall cladding on we can finally put up the corner flashing. But first, I wanted to add something to fill those fiddly gaps created with the ups and down of corrugated iron sheeting. I had a go at expanding foam.


But I didn't love it. It's highly toxic when you apply it, it degrades over time to a toxic powder, it's toxic in case of fire, and mice and insects could just chew through it. It's expensive and messy to use. Time to try another technique.

We tried putting some of the insulation under the corner flashing to see if it would fill the gaps.... no not really.

We tried some aluminium insect mesh... hmmm getting closer...

Final plan - screw the flashing on with some mesh sticking out, then cut the mesh in a wavy pattern so that the curves can be pushed into the gaps. Pretty easy and a good result as far as keeping out bushfire embers. Of course easy still meant climbing up and down ladders for 8 corners... To hold it down and seal more gaps we could add a line of (black) silicone but to date this has seemed unnecessary.

Yay! All the corner cladding screwed on!

Another job was to put rivets in the ends of the corrugated iron sheets to create a bit more of a seal. There is a tiny gap where it sticks up before I put the rivets in... (below)

And very little difference (below) after I put the rivets in. This tiny result did not give me much enthusiasm to continue with the rest of the sheet joins around the house, it seemed pretty pointless.

Meanwhile we hadn't had any rain since the bushfire in September 2019, so September - November - December - January was just dry black dirt dust hot, no shade from the tree leaves and 20 percent humidity all day and night every day and night, 40 degree days non stop, every drop of water precious.

2020 February - rains! So quickly the world turned green again.

Another job to do was to finish the internal wall framing. First we found the right pieces and gave them a clean after they had been sitting in the weather for a few years...

Then assemble them according to the plans and screw together. These are the walls which separate the bathroom from the house.

That looks like a room!


My adventures with the different types of silicone and gap sealers continued, as I filled in the gaps where the verandah roof met the house wall. There was a lot of black bushfire embers and dust which had come in through these holes during and after the September fires, so it was important to seal it. A bit of a slow and fiddly job but I worked out some helpful techniques and silicone is easy to work with.