2023 May
Winter was approaching and we wanted to create a smaller space so that it was easier to be warm in winter. We had discovered by living in the caravan that a small space is actually surprisingly easy to keep warm. Just by our body heat alone, along with jumpers and blankets, we had been comfortable in near zero temperatures. The caravan is under the trees though, and the trees act like a mice warm blanket over the land, so at night the temperatures stay much warmer in comparison to the cleared area around the house. When there are no trees then the warmth of the day just rises up into the sky and it gets much colder much faster. Around the caravan there is never a frost, but down in the clearing we have had quite a few frosts each winter.
We cleared the area where the house is due to bushfire regulations. If it is clear at least 33m around each side of the house, we achieved Bushfire Attack Level 29, which is basically medium level. So while we have safety from bushfire, we also have much colder winter nights. We don't have any form of heating in the house, so the best plan was to just try and create the smallest space to take advantage of our body heat. First step was putting up a ceiling in the first bedroom, as it received winter sun and had all the walls insulated and clad with plywood.
First the ceiling battens had to be put up. These are blue metal which has two sides which are screwed to the roof trusses, and then the middle bit sticks down ready for the ceiling sheets to be screwed to. The photo below shows that there isn't enough room to screw two plywood sheets next to each other. If the screws were any closer to the edge of the plywood, then the wood would split. This means that any point where two sheets join there needs to be an extra wide ceiling batten.


Another thing we had to figure out was how far apart to put the ceiling battens. After some research we decided that 300mm seemed to be the best distance. This means that with 9 screws along the long edge and 5 rows across, there has to be 45 screws in each sheet. In the below photo you can see the normal ceiling battens on the left side, an extra wide batten at the right-hand end of the plywood sheet, and a gap where the extra ceiling batten hasn't been screwed up yet.
It's a bit tricky lifting a 2.4m long sheet of plywood that weighs about 12 kilograms over your head, up to ceiling height, and holding it exactly in place, predrilling a hole with the drill and then holding a screw and the impact driver and screwing it in - again and again until it stayed up by itself. Whilst balancing yourself and the tools on the ladder. And then screwing in the rest of the 45 screws. Climb down, move the ladder, climb up again, screw in a few more screws, climb down again, move the ladder... etc etc. And then again for the next sheet. We could have hired, borrowed or bought a sheet lifter which could have made the job easier, but these are quite large so they are difficult to transport. Also the sheet lifter would have taken up a lot of room in the house and gotten in the way. Josh was sure that we didn't need one.
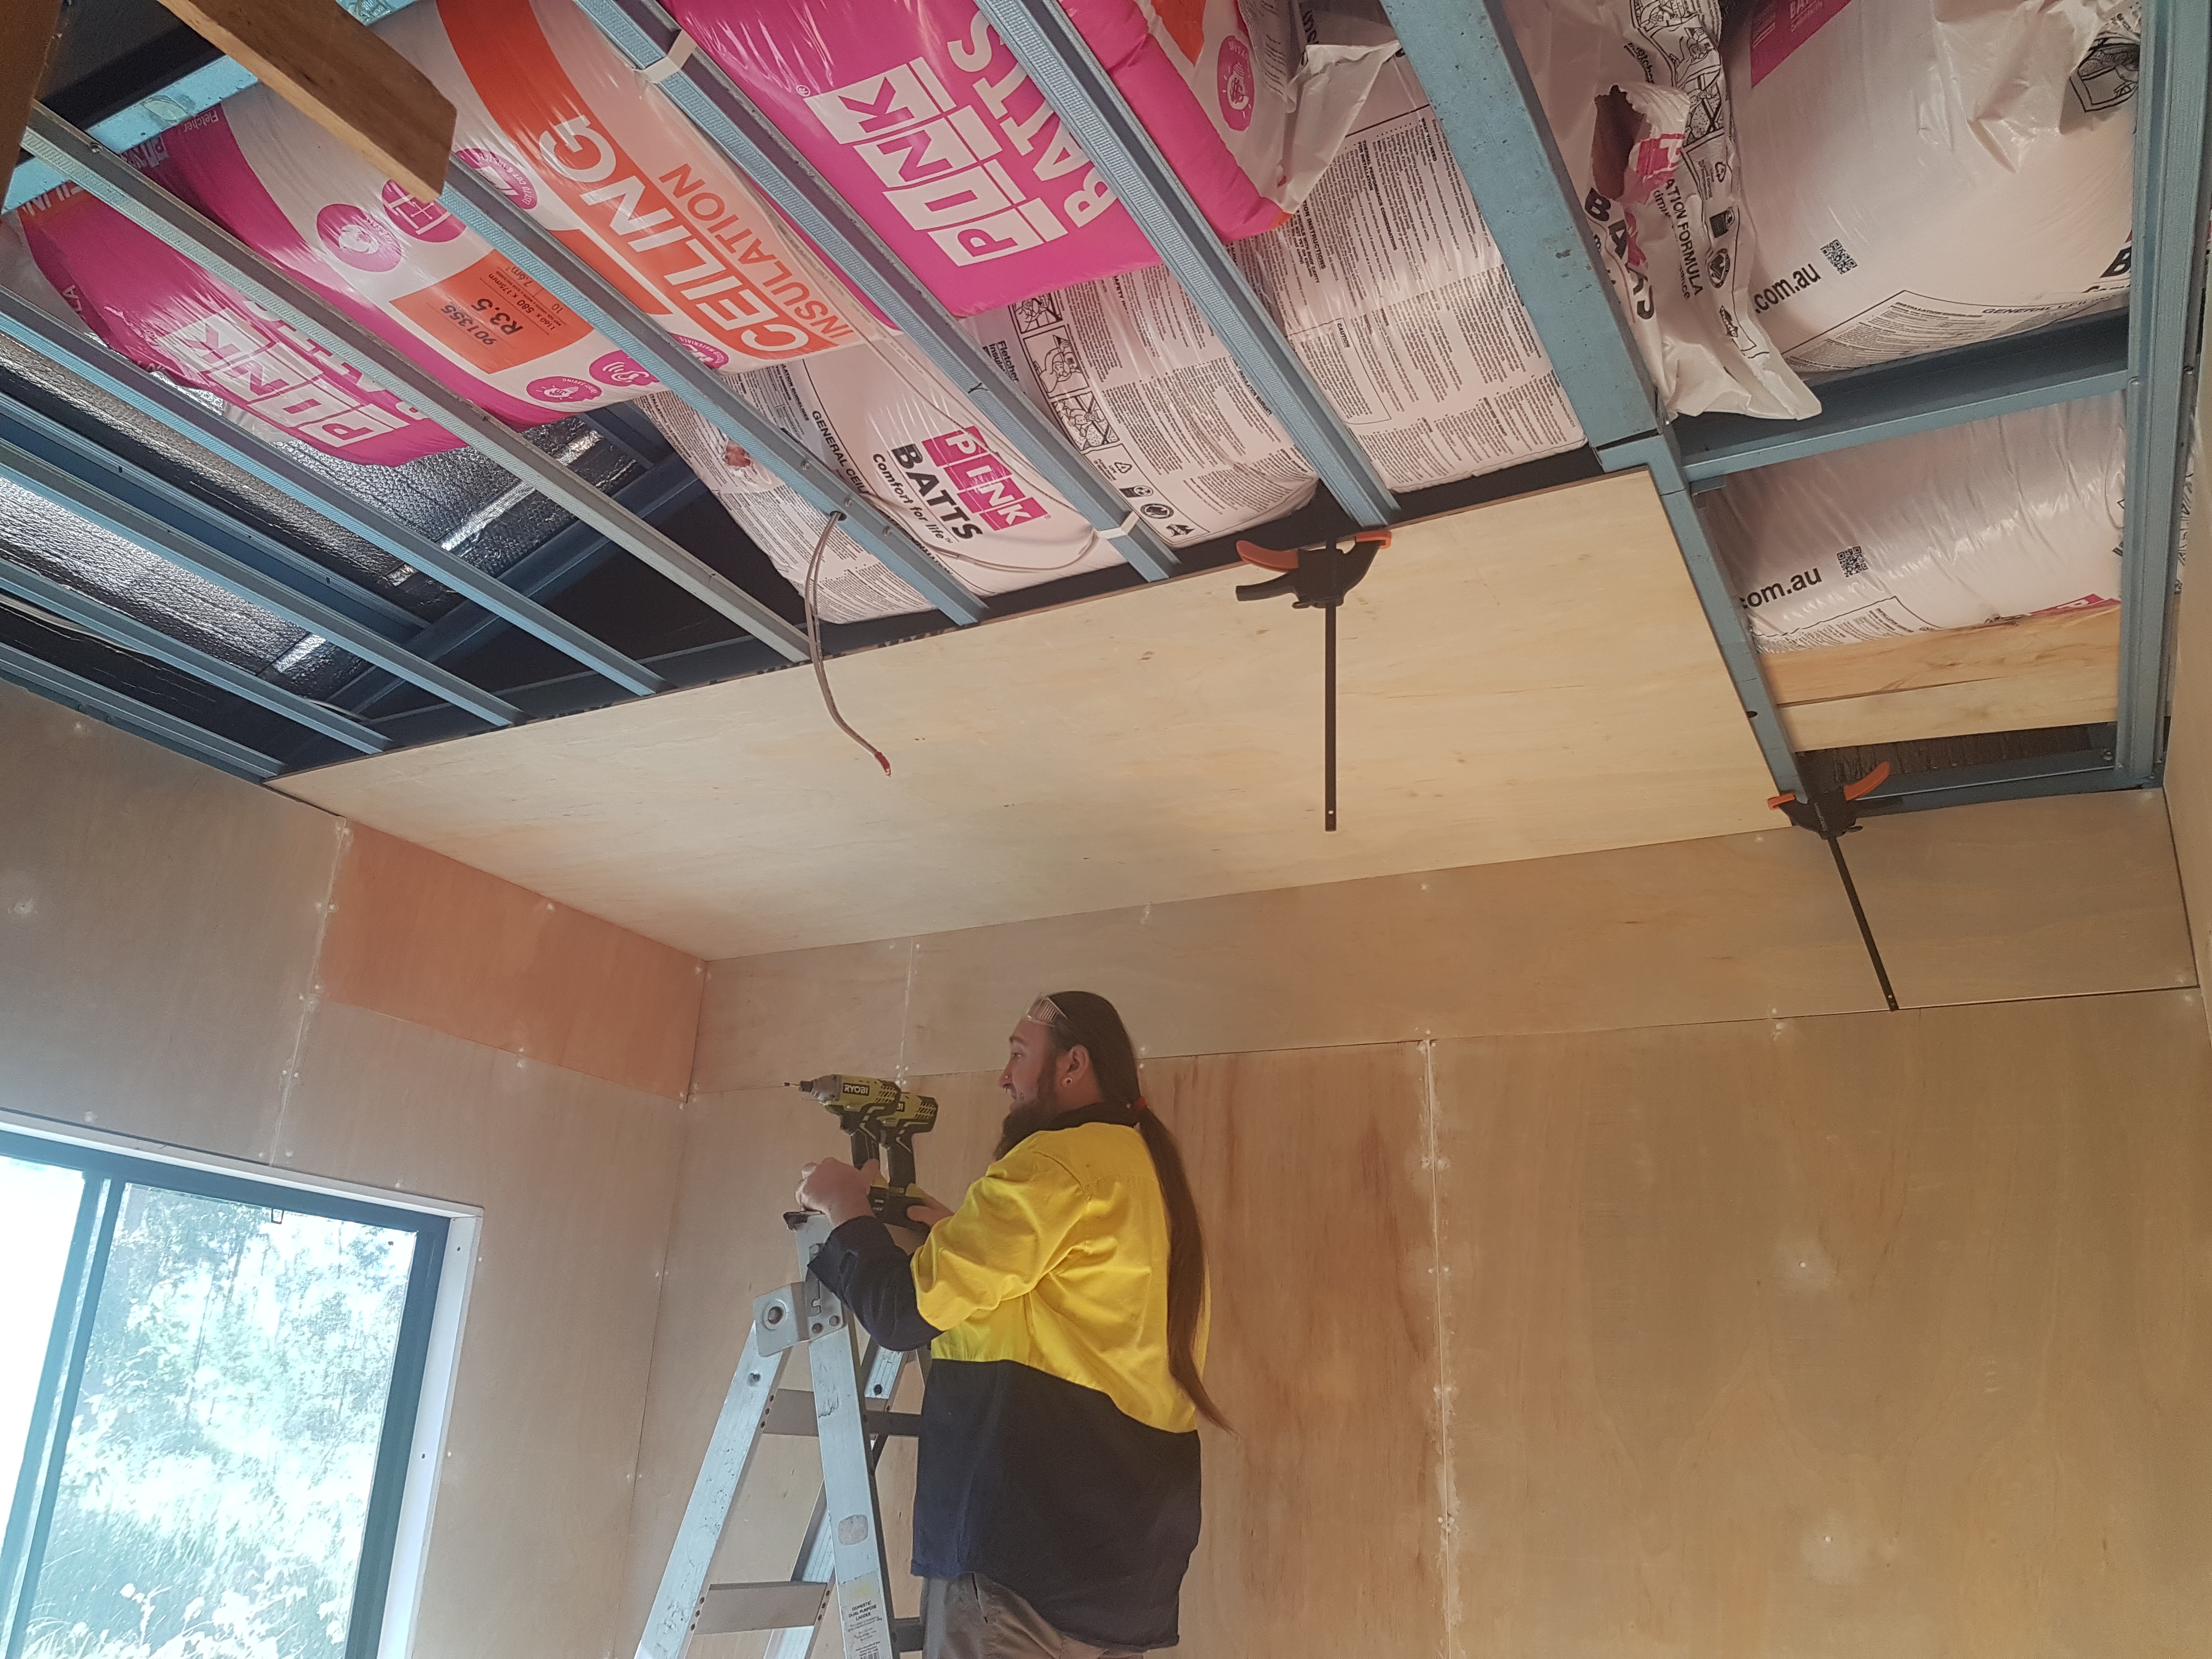
Our solution was to have me holding up the sheet with a broom at one end while Josh went up the ladder at the other end and attached some clamps to hold it in place. In the above photo you can see the bags of insulation being temporarily stored in the ceiling. Each single bag contains multiple bags inside, and then each bag is tightly squeezed and sucked shut. When you cut the bag open, air rushes back into the material and it expands hugely. It will go from being maybe 30cm wide to 2 metres wide, it's crazy! They must have really big strong machines that squish these down when they get wrapped. It's a great idea because it saves SO much space when it is being transported and stored.
The below photo shows the second ceiling sheet screwed in place.

The below photo shows the third ceiling sheet in place. The black marks are from the rubber mallet banging it in over the tight gap above the frame for the built-in wardrobe. You can also see in the photo the extra ceiling batten has been added on the right, and a short piece of plywood added at the end to start closing this short side in.


Here's a photo from the other side of the room.

Now the room is ready to start working towards painting. As you can see these walls have already been filled, with all those funny white spots. Next update coming soon!
No comments:
Post a Comment