2019 December
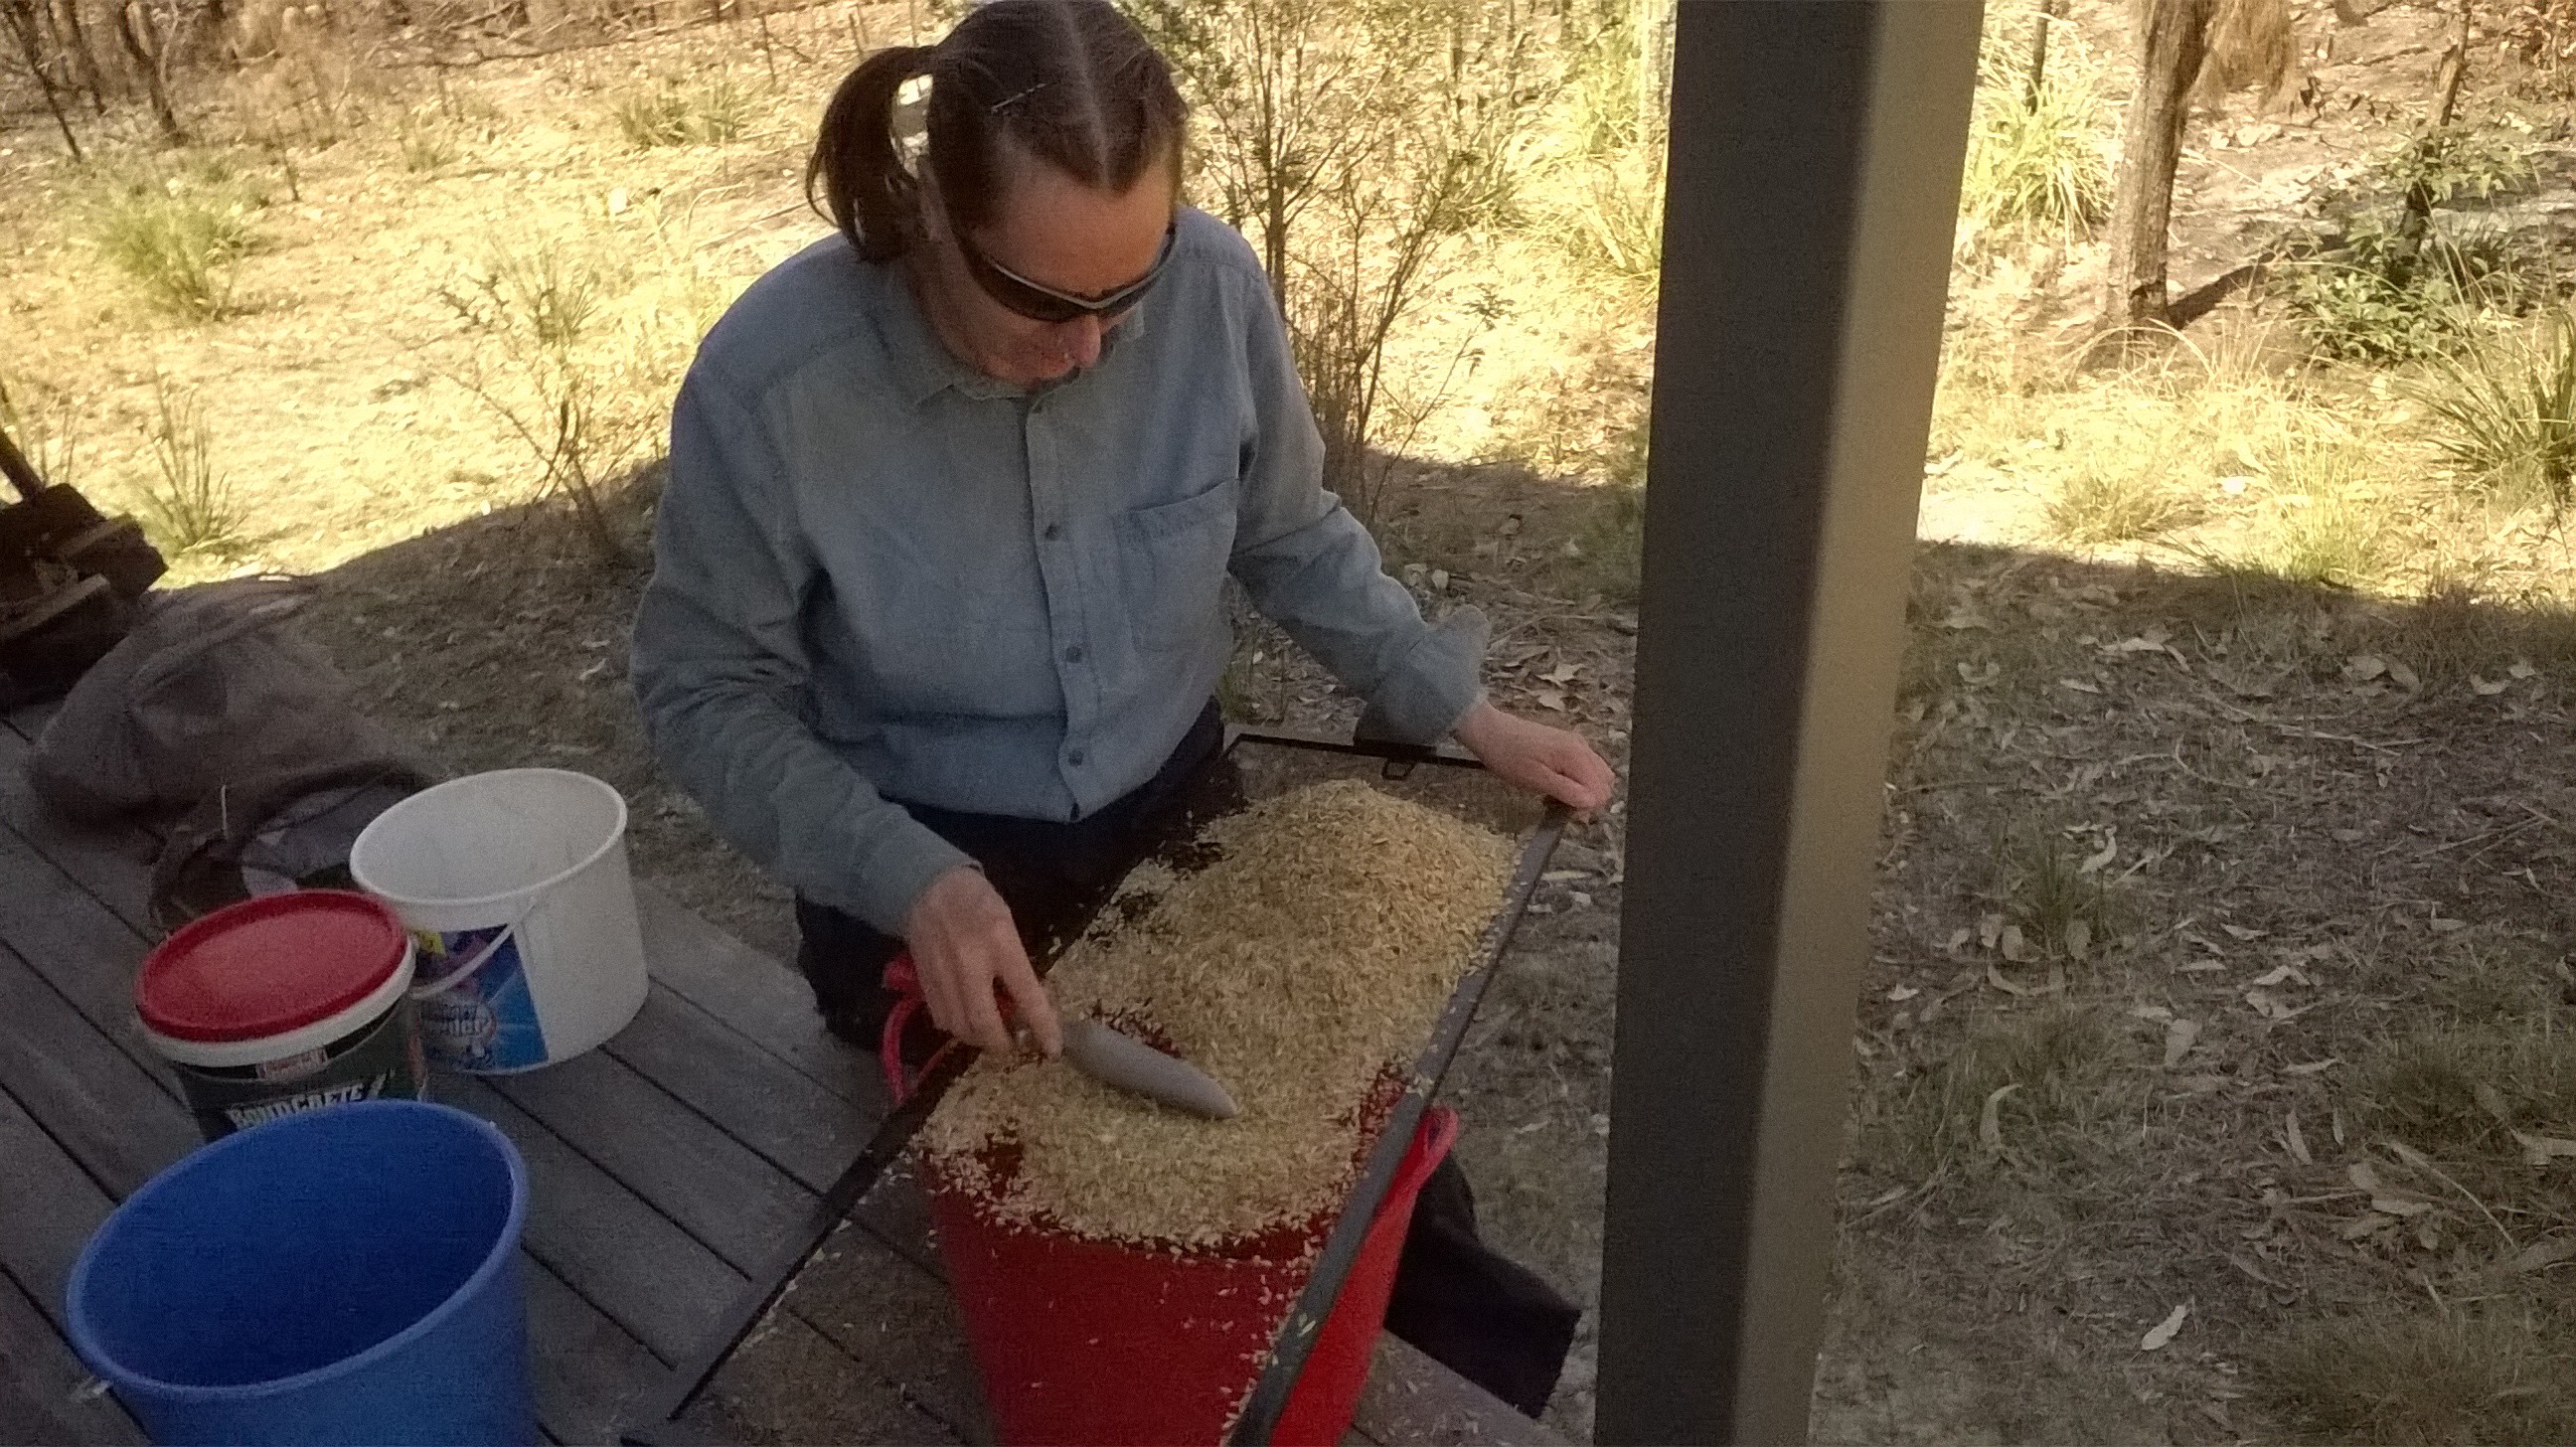
Ok with all the wall cladding on we can finally put up the corner flashing. But first, I wanted to add something to fill those fiddly gaps created with the ups and down of corrugated iron sheeting. I had a go at expanding foam.


We tried putting some of the insulation under the corner flashing to see if it would fill the gaps.... no not really.

We tried some aluminium insect mesh... hmmm getting closer...

Final plan - screw the flashing on with some mesh sticking out, then cut the mesh in a wavy pattern so that the curves can be pushed into the gaps. Pretty easy and a good result as far as keeping out bushfire embers. Of course easy still meant climbing up and down ladders for 8 corners... To hold it down and seal more gaps we could add a line of (black) silicone but to date this has seemed unnecessary.

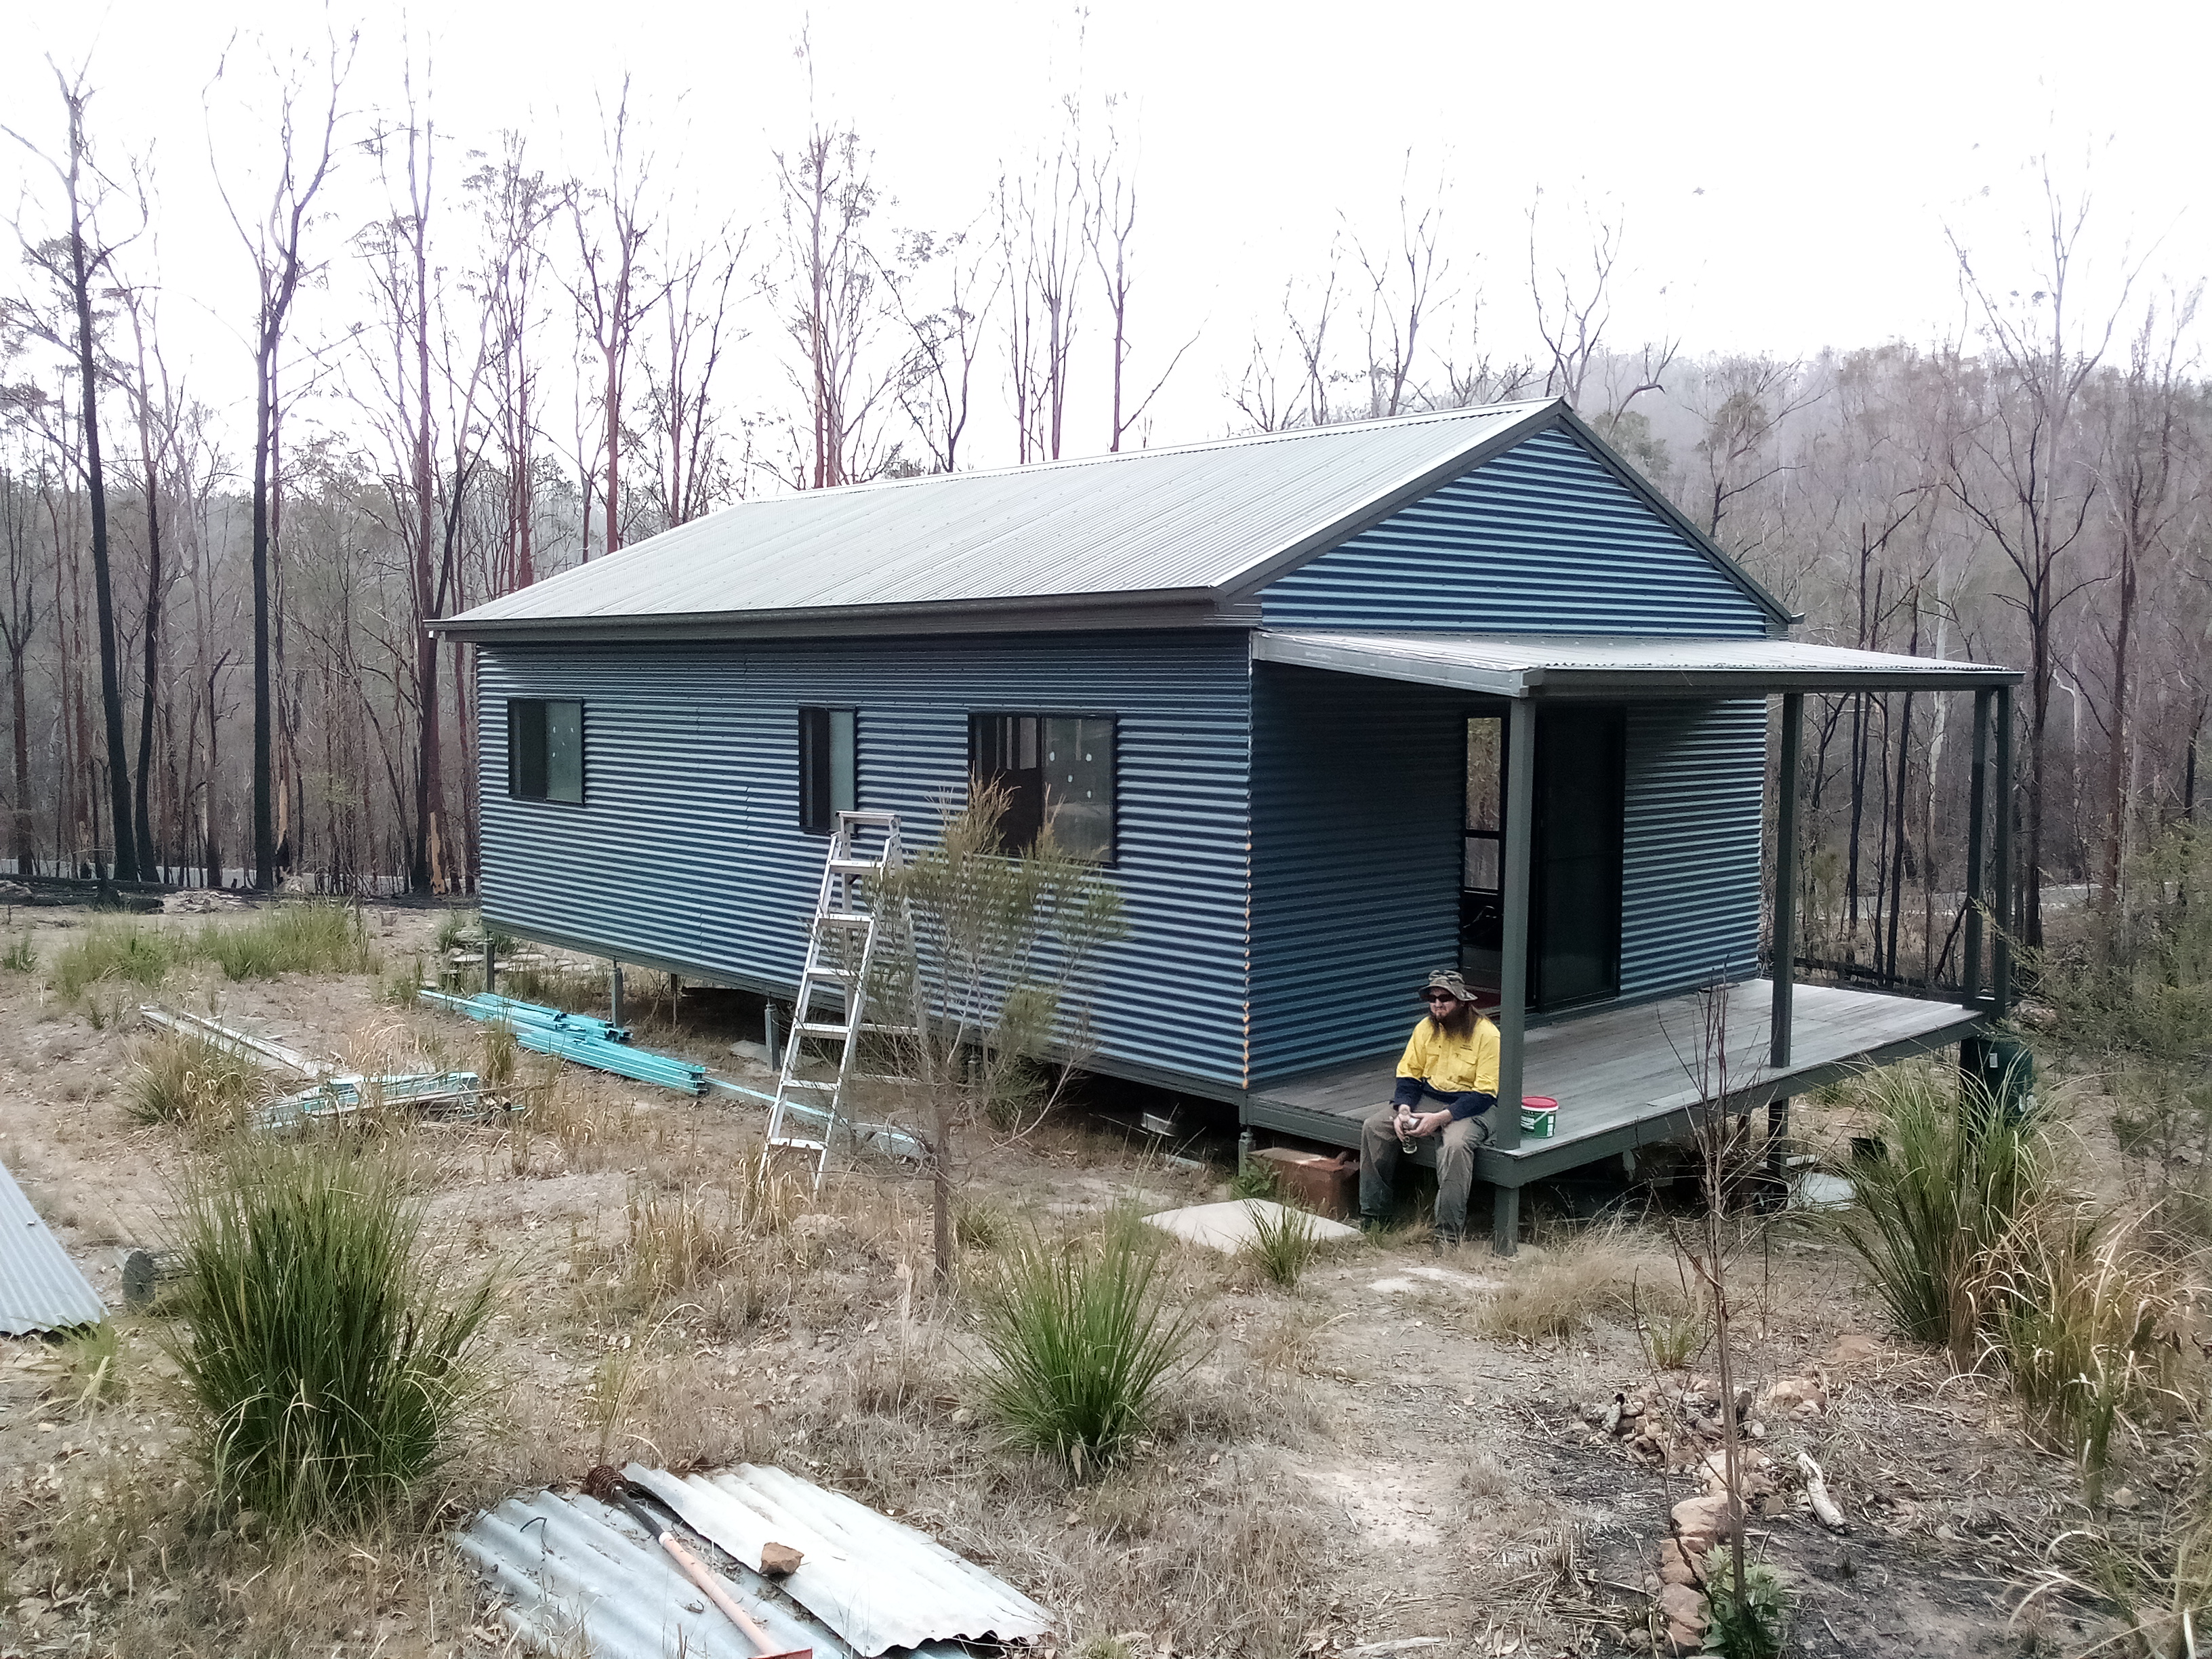
Yay! All the corner cladding screwed on!
Another job was to put rivets in the ends of the corrugated iron sheets to create a bit more of a seal. There is a tiny gap where it sticks up before I put the rivets in... (below)

And very little difference (below) after I put the rivets in. This tiny result did not give me much enthusiasm to continue with the rest of the sheet joins around the house, it seemed pretty pointless.

Meanwhile we hadn't had any rain since the bushfire in September 2019, so September - November - December - January was just dry black dirt dust hot, no shade from the tree leaves and 20 percent humidity all day and night every day and night, 40 degree days non stop, every drop of water precious.
2020 February - rains! So quickly the world turned green again.

Another job to do was to finish the internal wall framing. First we found the right pieces and gave them a clean after they had been sitting in the weather for a few years...

Then assemble them according to the plans and screw together. These are the walls which separate the bathroom from the house.


My adventures with the different types of silicone and gap sealers continued, as I filled in the gaps where the verandah roof met the house wall. There was a lot of black bushfire embers and dust which had come in through these holes during and after the September fires, so it was important to seal it. A bit of a slow and fiddly job but I worked out some helpful techniques and silicone is easy to work with.